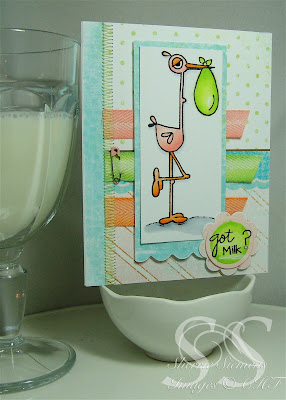
 It's been a little while since I have done a copic tutorial so I took today's sketch challenge card from SCS to show you some step by steps. First of all I will share my supply list with you then I will go photo by photo to show you how I colored the main image and my accessories. I tried to get a photo of each marker in the tutorial. If you click on the individual picture it will enlarge so you can see the details clearer!
Enjoy!
Stamps:
Baby Love (Kim Hughes Collection) by Cornish Heritage Farms
Ink:
Tuxedo Black Memento Ink (Tsukineko)
Paper:
MochaChica Patterned Paper (Kim Hughes Collection) by Cornish Heritage Farms
Simply Smooth White (Prism)
Accessories:
Markers, Multiliner (Copic)
Circle Die Cut (Spellbinders)
Flower Die Cut (Provo Craft)
Sewing
Safety Pin (Making Memories)
Twill (Martha Stewart)
Small Corner Rounder (Marvy)
 I stamped my image in Memento ink. This black ink in particular seems to work the best for me with this Simply Smooth Paper. I chose my colors based on the patterned paper I am using two tones of each (one lighter and one darker).
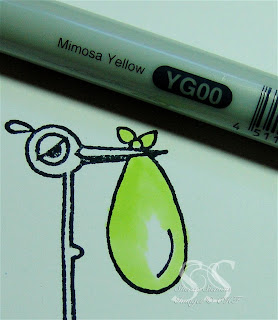 I start with my lightest shade, I left a little white area where my coloring would be the lightest.
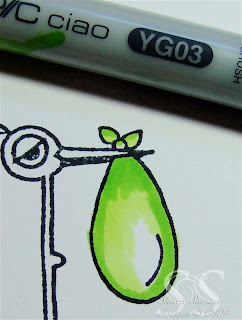 Go over the areas where you think will be the darkest color with your darker marker. Go easy on the color in this step you can always darken but it is a little trickier taking color away.
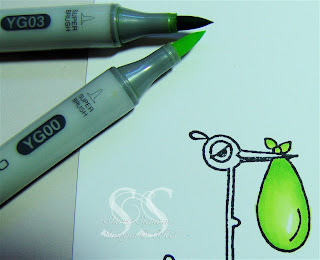 I use the tip to tip technique a lot. Take your lightest marker and touch it to the tip of your dark marker. Then take that light marker and blend the seam line on your image. You want there to be a seamless color flow from dark to light. You might have to do this repeatingly to fully blend in that line.
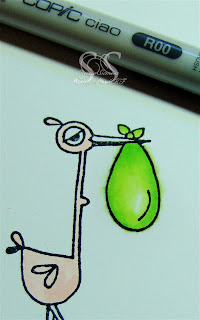 On to the bird. Again, start with your lightest color and color in the bird.
 Now take your dark marker and create dark spots on the bird.
I imagine my light source coming from the top so I shade accordingly. The darkest part being the underside of the bird.
 Use that same tip to tip technique and blend in your lines. If you wish to see a video version of this tip to tip technique check out my side bar where I have done a few live videos showing this technique.
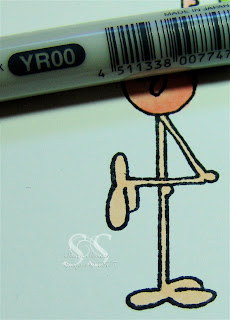 On to his legs, color with your light color.
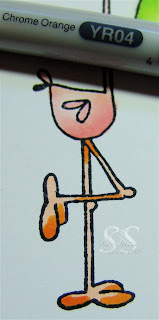 You can see when I add my dark color that in this case there is quite a stark difference. I am so pleased that even with a huge difference in color that these markers will blend seamlessly!
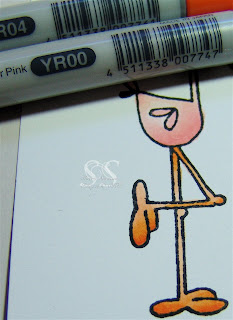 Here you can see the blended version.
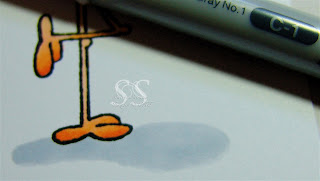 Now to ground cover. I freehand a kidney shaped image below the feet to "ground" the bird.
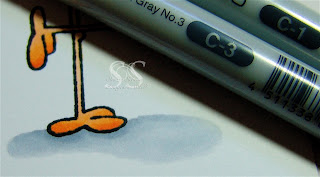 Do the same step with the grey tones as you did above with the colors.
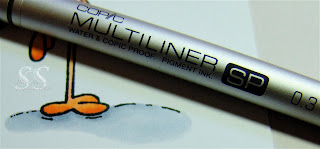 I took my copic multi liner and drew a few black lines to look like ground.
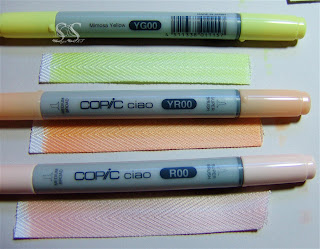 Now to the accessories! I often buy white or clear accessories so that I can color match it with my markers. Here I colored the Martha Stewart twill with my light markers.
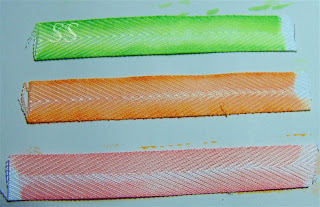 Now I took my dark markers and colored the edges a little and then blended back in with my light one! Cool! I love it when everything looks like it should go together!
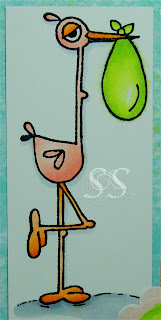
Here is the final shot. If you made it this far down the page you do deserve a cuppa!
32 comments:
wonderful tutorial, and a darling card!
This card is adorable!! Copics & me ~ we have a love/hate relationship. I've been using them over a year & it's just an ongoing learning process. I tend to use coated paper, & they work much differently than with regular cardstock. I should just stick to my pencils, lol!!
Adorable card! I so appreciate your time in making these tutorials. They are invaluable! Thanks!
Love the baby card and thanks for a great tutorial!
Cool tutorial! I too have been discovering the joys of using my copics to color stuff to color match perfectly! Primas are my fave . . . I love that I can make them look just exact!!!
You amaze me.... you are the copic queen!
i've never made a comment before on a blog, but you deserve one, thanks for the tip on just touching the two marker tip together to do the blending, i have tried every way to color, while i don't have but one copic marker (just wanted to try them out) i think this tip would work for my regular dye ink markers, and they are always way to dark for my taste. thanks again to you for making me like coloring again.
This is a great step-by-step tutorial...and such a fun card! Thanks for sharing!
Thanks for the tutorial - very helpful!! I love how you colored the twill - will have to try that.
Thanks so much for this great tutorial! I appreciate the step by step lesson; I also LOVE the colored twill (and everything else about your card)!
wow awesome colouring love the pictures, that helps alot! great card
Great tutorial. Will have to try the tip to tip technique.
Wauw this is wonderful. There is an award for you on my blog. Hugs Marja
so very cute, like the pastel colors!
Awesome! Love your coloring and the cute baby card. Great idea matching the twill ribbon! TFS!
Post a Comment